
KompoZer Tutorial
This tutorial will show you how to work with KompoZer, an open source html editor. This is a very basic and lightweight program, that will allow you to edit your webpage if you do not have access to Adobe Dreamweaver. It is considered a what-you-see-is-what-you-get (WYSIWUG) html publisher. It utilizes a "publish" tool that will upload your files automatically, instead of you having to manually copy and paste updated documents to your public web page folder location.
Installing and Launching KompoZer
- To download KompoZer on your home computer, visit http://kompozer.net/ and download the correct version for your operating system (Windows, Mac OS X, Linux).
- To host your web page on the HSU UserWeb, visit http://www.humboldt.edu/its/web-users-connect and follow the instruction closely.
- Unzip this file, and click on the KompoZer application to launch it

Creating an HTML File in KompoZer
In the KompoZer window...- Type "ABC123 GIS Portfolio" (insert your desired name instead of "ABC123") into the large text window under the tab "Untitled"

- Click on "File" and then "Save"

- A window requiring a title for your web site will pop up (example: "Smith GIS Portfolio")

- Type in your desired title and click "OK
- Create a folder for web page files (example: "Web Portfolio")
- Navigate to this new folder
- Type the file name "index.html" and click "Save"

Your KompoZer window will not display your webpage name
Publishing your Web Page
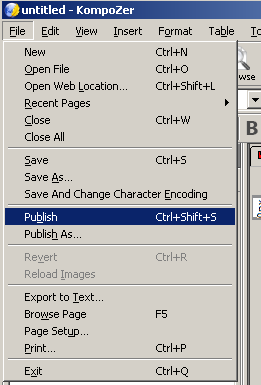
1. Select "File" and then "Publish"
Make sure you have the following website information: (If you do not understand where to obtain this information, please revisit http://www.humboldt.edu/its/web-users-connect and carefully read and follow the instructions provided)
- 1. HTTP Address
- 2. Publishing Address
- 3. Username and Password (assigned by web host/HSU)
2. Connecting to public_html 3. Click the "Publish" button
KompoZer will publish your page to your public_html folder
If you wish to change the settings entered in the publish page window, click on "Edit" and "Publish Site Settings" to make those changes
4. Test your web page
- Open an internet browser (Google Chrome, Mozilla Firefox, etc.)
- Type your website address (example: http//users.humboldt.edu/abc123)
- If you followed the previous stpes, your web page should load (huzzah!)
If your web page does not load, return to the beginning of this document and make sure you have closely followed each step
If you still have problems, explore the FAQ's section on the provided web links and try again later
Changing the Style (Font/Size/etc.) of Your Web Page
- Highlight all of the text "ABC123 GIS Portfolio") (Hold CTRL+A to select all)
- Click on "Format" on the toolbar
- Select "Font"

- Select an appropriate font (See this link: http://www.thesitewizard.com/webdesign/which-fonts-to-use.shtml for more information on which font to choose)
- You can change the size of the font by clicking on "Format" and then selecting "Size", as well as "Text Color", etc.
If you want to get very creative with the style of your web page, explore settings such as the ""Format" -> "Page Colors and Background" to change the background color. (There are many ways to customize your page, so have fun exploring the settings.)
Formatting your Web Page Content
- Designate the text in your main text window as the "header" of your first paragraph:
- Click on "Format" -> "Paragraph"
- Select "Heading 1"

- For smaller subsections of your web page, you can choose to use Heading 2. If you need further subsections, use Heading 3 only after using Heading 2. This will keep it organized and easy to edit later on.
- Select "File" then "Save" (Be sure to save frequently, to prevent losing any of your hard work!)
Creating Lists
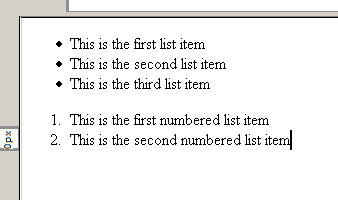
Adding bulleted or numbered lists in Kompozer is similar to doing so in Microsoft Word.- Type your first item into the Kompozer window
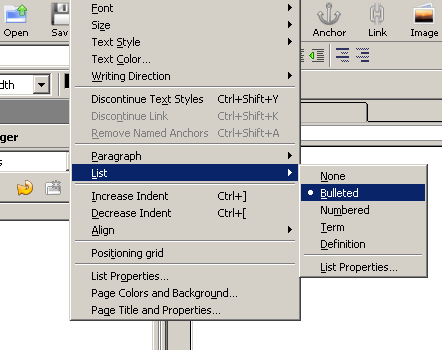
- Highlight the line, and select "Format" -> "List" -> and either "Bulleted" List, or "Numbered" List.
- You can hit "Enter" on your keyboard to type the next list item. Hit "Enter" twice to end the list. You can have multiple lists of different types.
Adding Images to your Web Page
- To add images (like your final maps from lab assignments) to your portfolio/web page, create an "Images" folder in the same place as your "index.html" file.

- Copy the images you wish to add to your web page to this new "Images" folder.
- Place your cursor where you would like to add the image (example: before your web page title)
- Select "Insert" -> "Image"

- Navigate to your image file location

- Select your image file (.jpeg, .png, etc.) and click "Open"
- You'll need to enter "Alternate Text" for those that cannot see the image in the web browser
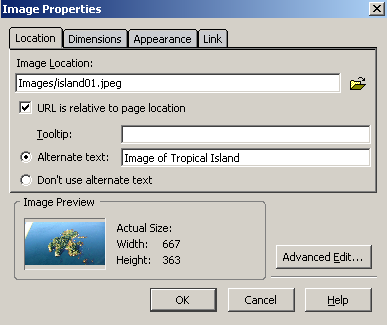
- Click "OK"
- If you want to change dimensions or appearance settings of the image, right click on the image, select "Image Properties" and use the tabs located at the top of the dialog window to explore those settings.
- Select "Insert" -> "Image"
Adding a Link to your Web Page
- Place your cursor where you want your link to be added
- Select "Insert" -> "Link"
- Type "Home" in the "Link Text" field
- Navigate to your "index.html" file and select it for the "Link Location" field
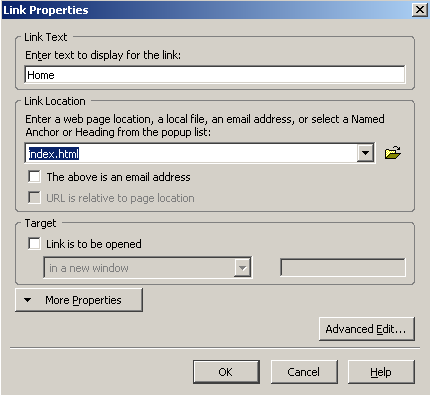
- Click "OK"
- Repeat these steps to create links to other pages you want to have on your website (example: Labs, Resume or CV, Contact Information, etc.)
- You will need to create new .html files (example: resume.html) located in your web page folder to link to these pages
Adding a Downloadable Link
You must save the file you'd like to have available to download in your public_html folder. copy and paste the file to the same location as your "index.html" page.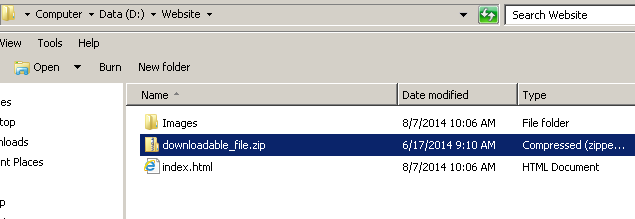
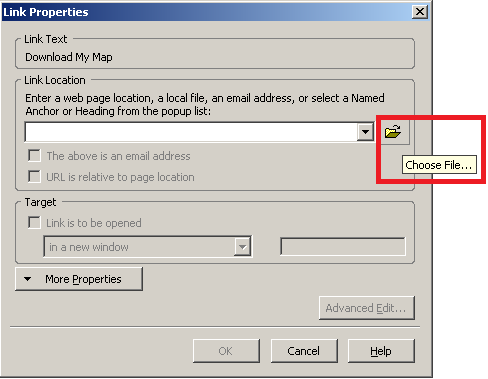
- Type the words that you would like to make a link, example: "Download my Map"
- Highlight those words, and select "Insert" from the top menu bar -> "Link" in the window that appears. A dialog window titled "Link Properties" will appear.
- Click the folder icon beside the blank "Link Location" box.
 A new dialog window titled "Open HTML File" will appear. Navigate to your website folder location.
 - Near the bottom of that dialog window, click the down arrow for the "Type of Files" field to reveal a drop down box. Select "All Files".
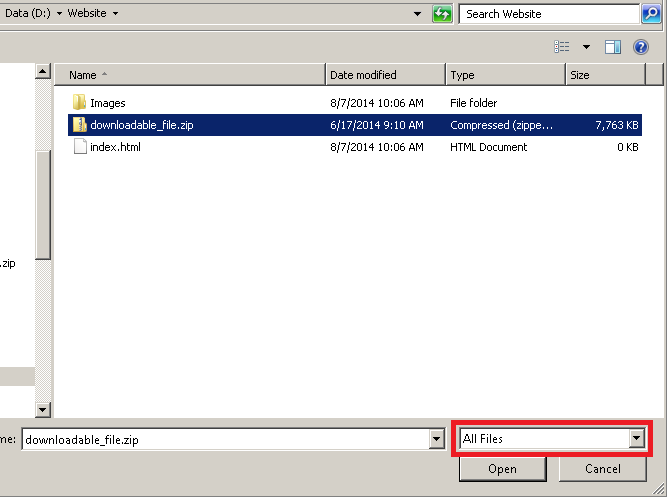 This will show all of the files in the folder and let you select the zipped folder you would like to have downloaded. Click "OK".
 - Kompozer will now show a blue underlined link in place of the normal text. To test the link, save the html file and open it in a web browser.
Additional Resources
Recommended Tutorial: http://www.thesitewizard.com/kompozer/
Youtube Tutorial: http://www.youtube.com/watch?v=nzjQo7K13fc