
Taking and Editing Screen Shots
We will frequently be taking screenshots in this course. Screenshots are an easy way to include images and figures into reports. Screenshots are also an easy to show someone what you're seeing on your computer screen instead of trying explaining it. Screenshot are any extremely useful tool when you are asking for help, particularly when communicating through email. There are a couple of different methods of taking and editing screenshots.
Print Screen Key (PrtScn)
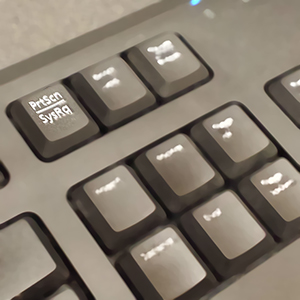
In Windows, one easy wat to take a screenshot is the PrtScn key. When you press it, an image of your screen is copied to the Clipboard. This is called a screen capture or screen shot. If you only want to capture/copy the active window (i.e. your ENVI/ArcMap workspace window) press Alt+PrtScn. You can crop and edit your screenshot by opening up image editing software (Paint, GIMP) and simply pasting your screenshot. You can also paste your screenshot directly in Microsoft Word and use the picture editing tools to crop and resize your image.
Snipping Tool
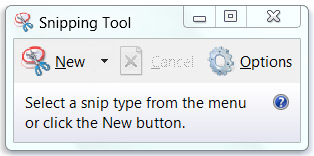
In Windows you can Snipping Tool to capture a screen shot, or snip, of any object on your screen, and then annotate, save, or share the image. Open the Snipping Tool by clicking the Start button and in the search box, type Snipping Tool, and then click Snipping Tool. Click the arrow next to the New button, select Free-form Snip, Rectangular Snip, Window Snip, or Full-screen Snip from the list, and then select the area of your screen that you want to capture. After you capture a snip you can simply copy the snip to the clipboard (Edit → Copy) or save the snip (File → Save As or the click the disc icon).