Creating Shapefiles and Digitizing
Quick Tutorial
Creating a New Shapefile
- Open ArcCatalog and navigate to your Lab 12 folder
- Right click and select File>New>Shapefile
- Give your shapefile a name and select a geometry based on what type of features you are trying to draw (i.e. point, polyline or polygon).
- Use the Edit button to select the coordinate system that you are using in your project. The coordinate system should match the other datasets you are using. Click OK.
- You can also add and edit attribute fields by right clicking on the shapefile and selecting Properties > Fields.
Editing the Shapefile
- Add the shapefile you created to ArcMap by dragging the file or using the Add Data Button.
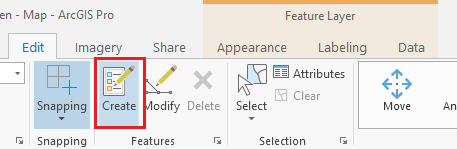
- Right click on the shapefile you want to edit and select Edit Features > Start Editing.
- This will add an editor toolbar to your ArcMap interface (if it was not there already). It will also open a “create features” window that will allow us to edit the shapefile.
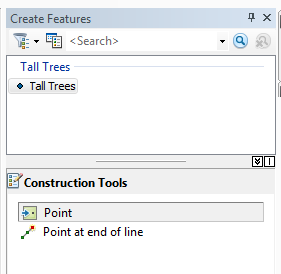
- In the “create features” window, select your shapefile icon. A “construction tools” window will appear at the bottom of the Create Features toolbar.
- Select the applicable type of construction took for the shpaefile you want to create.
- You are now ready to add points, or draw Features to create your shapefile.
- When your finished editing your shapefile on the editor toolbar, click on the word “Editor”. Select “Save Edits” from the drop down menu.
- Once saved, select “Stop Editing” from the Editor drop down menu.
- Adjust the symbology of the shapefile by right clicking on the shapefile in the Table of Contents and selecting Properties > Symbology.